Hi, in this post I will show you the steps to follow in order to install and setup an email server.
We are using the following components:
- GoDaddy domain and SSL certificates.
- GoDaddy virtual private server (VPS) hosting
- Postfix MTA
- Dovecot email server
- smtp2go outbound smtp account for outgoing email
GoDaddy assets
We first purchased our domain name and SSL in goDaddy and we also purchased a VPS hosting. This will give you the following assets:
- An IP address for your VPS. The VPS is a server that you can access by an SSH terminal and install whatever you like. In our case we will host web pages and email. Later, we will add web services and products information. Will keep you posted about it.
- DNS configuration access: So the internet can resolve your VPS' IP address as your domain name.
- SSL certificate that you can request using a Certificate Signing Request (CSR) and encrypt your server's traffic
Configure the DNS in goDaddy
For now we have the following assets from what we have purchased:
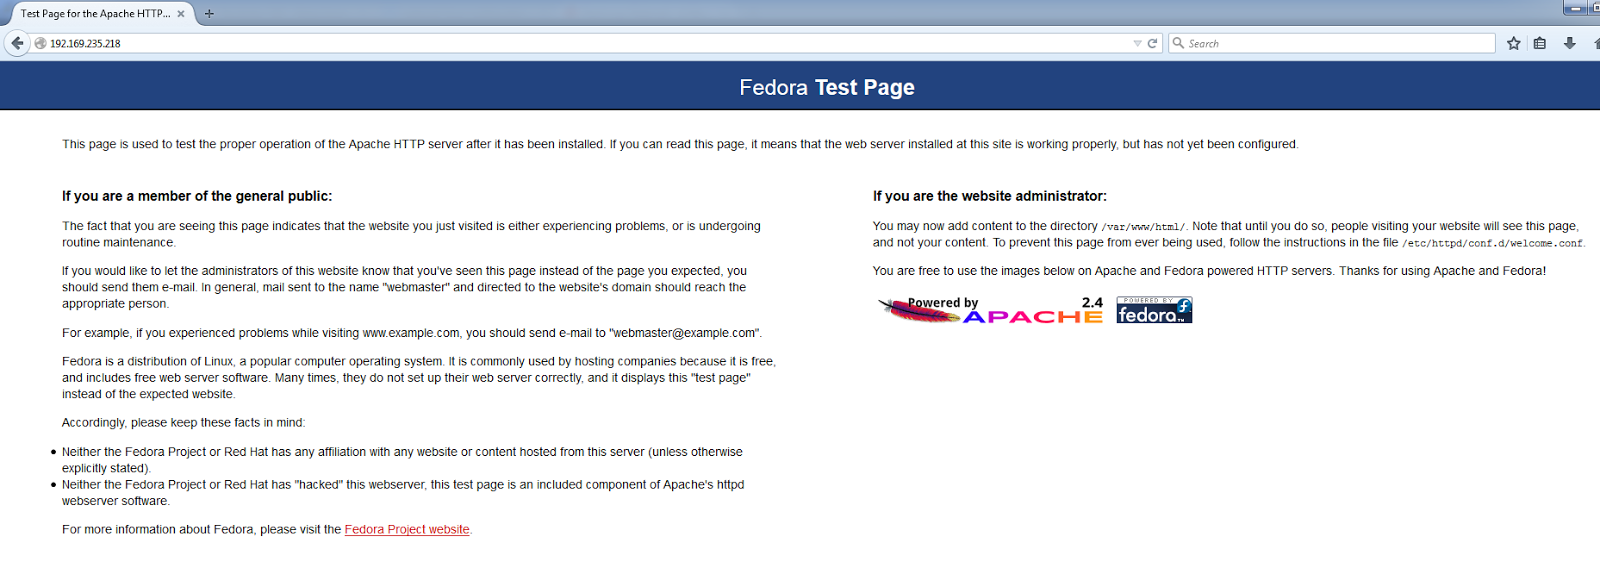
- We can browse to our VPS server using an internet browser using the IP address:
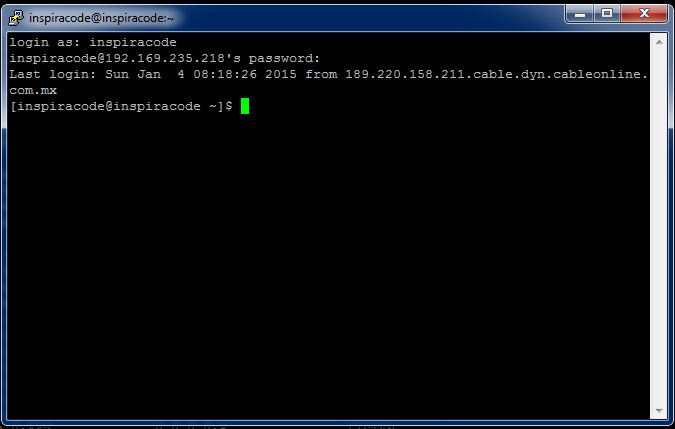
- We can login to our VPS using SSH (Putty is the tool we are using here):
- Domain is listed in our GoDaddy domains account:
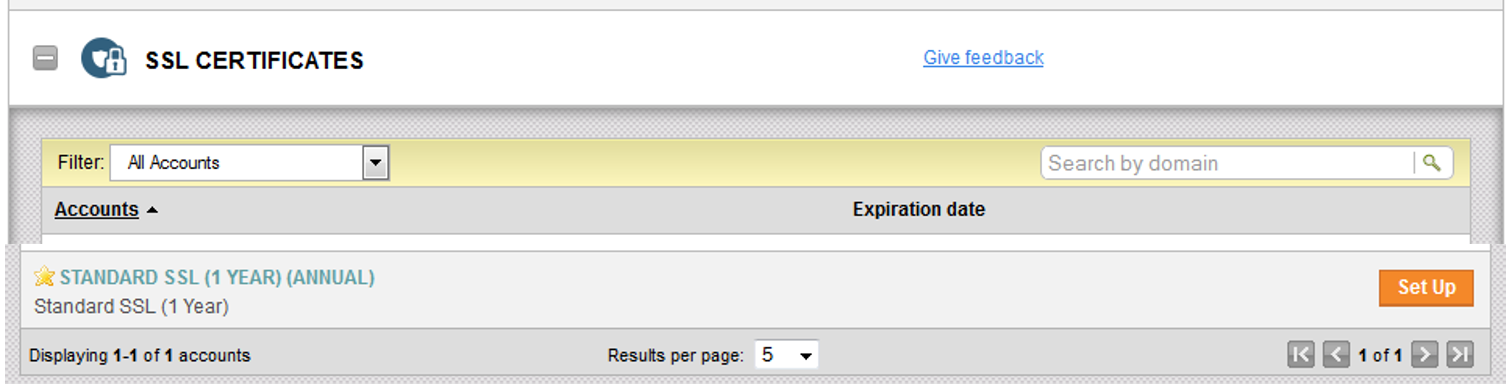
- We have an available certificate in GoDaddy SSL CERTIFICATES section.

To configure the domain name (inspiracode.net) to be resolved to the given IP address for the VPS server (192.169.235.218) we can use the following steps in GoDaddy.
- In the domains section select the Launch action from the domain that you want to configure (in our case it is inspiracode.net).
- Select the DNS Zone File tab.
- Add an A(Host) record to resolve to your server IP address. (in our case 192.169.235.218)
More advanced information about other configuration options can be found here.
As our certificate has been purchased to certify and encrypt inspiracode.net we have these options:
- We use the same domain name and IP address to serve all items that we would like to encrypt and secure.
- We purchase a different certificate for each different sub domain that we would like to secure (mail.inspiracode.net; smtp.inspiracode.net; ftp.inspiracode.net; etc.).
- We purchase a multiple domain certificate or wildcard certificate to encrypt all our different subdomains (*.inspiracode.net)
We have decided that for now, while we have some growth in our business we will use the option 1 and use the same domain name for the different services that we will allow in our server.
This decision affects the way we will create our DNS MX records.
Normally you will add MX records for your email server in a domain like mail.inspiracode.net or smtp.inspiracode.net. In our case we will add the MX records in the same inspiracode.net domain. To configure the mx records we can use the following steps in GoDaddy:
- In the domains section select the Launch action from the domain that you want to configure (in our case it is inspiracode.net).
- Select the DNS Zone File tab.
- Add an MX record to resolve to your server IP address. (in our case 192.169.235.218)
The result of doing this is that your DNS is configured to resolve your domain name (in our case inspiracode.net) to your VPS server (in our case 192.169.235.218).
Now, when navigating to http://inspiracode.net you will receive our Apache home page:
In the next post we will continue with:
- obtaining and uploading the SSL Certificates
- Postfix and Dovecot installation and configuration
- Email client configuration
keep tuned.
--D
No hay comentarios.:
Publicar un comentario